As we are getting more into a wintry and festive mood, it is also time to turn your home into a truly special place for your friends and family. Why not invite some friends over and get crafting? The Christmas season is a great excuse to gather together and have a chat about gift ideas and to share some creativity and learn from each other.
Since arriving in London, I have always been blown away by the amazing variety of Christmas wreaths. I used to go around with my camera taking photos of inspiring doors and the wonderful wreaths hanging from them. I always dreamt about having my own, and now, I have finally got together with some friends and made my first Christmas wreath.
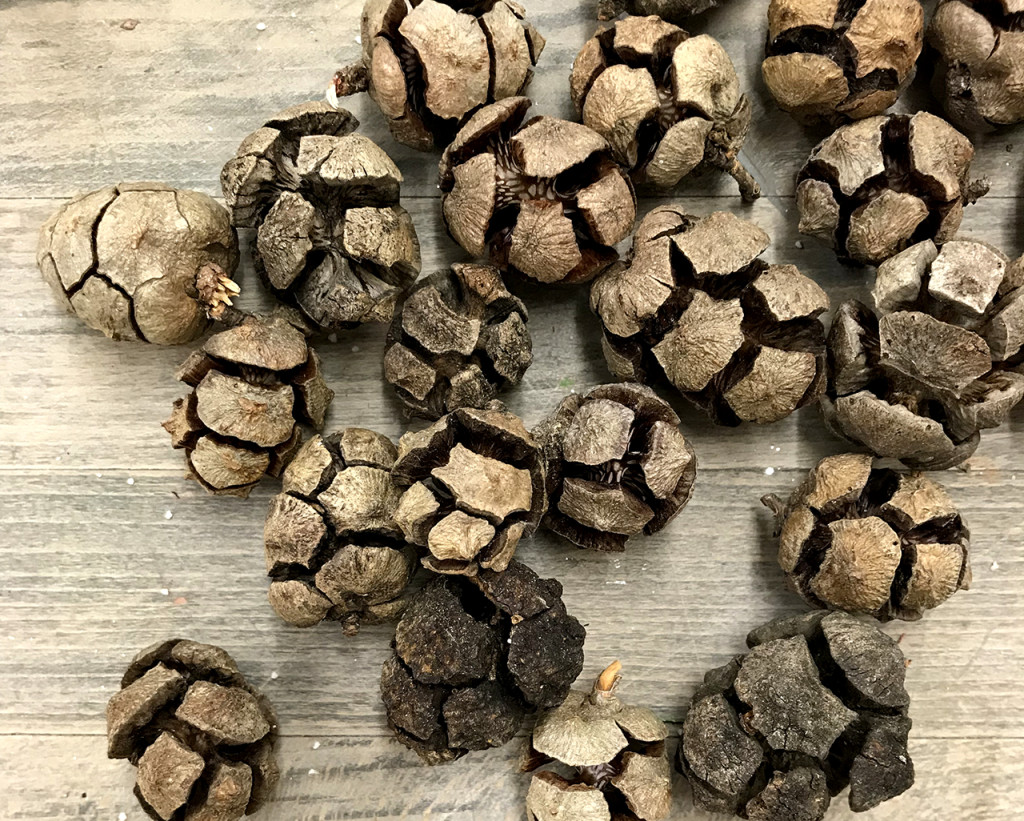
Although this wreath looks complicated, it is actually quite simple to make. I added a modern twist to the natural Scandinavian style. I collected little cypress pine cones with my mother for this festive craft. I also took inspiration from the Italian Christmas magazine, La Magia del Natale (The Magic of Christmas) by Francesca Ogliari. The projects in the magazine are full of shabby romanticism with so many techniques to learn from. My favourite this year is, ‘La Stella di Natale’ (The Christmas Star), which fascinated me and led me to make the leaves and stars that adorn my Scandinavian wreath.
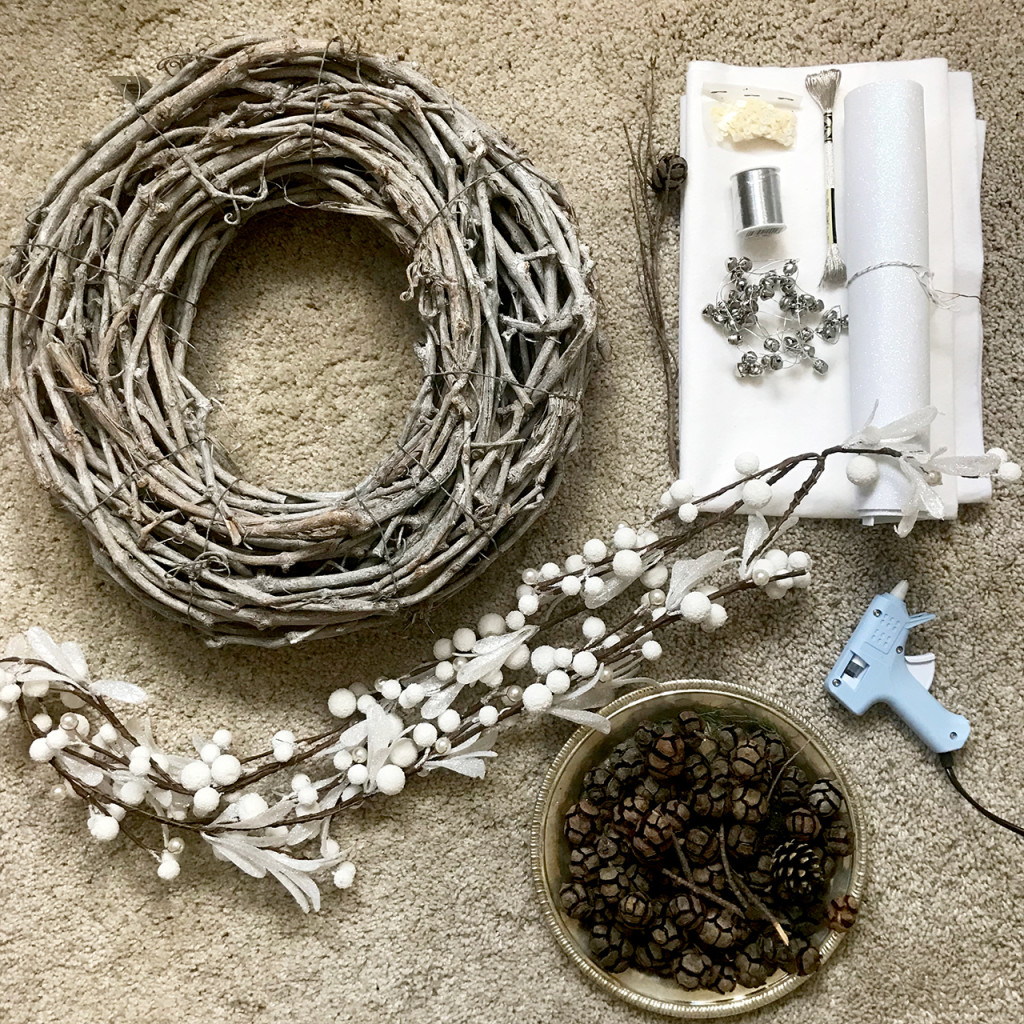
What you’ll need:
- White wash grapewood wreath from Hobbycraft
- Christmas snow berry garland from Hobbycraft
- Silver jingle bells from Hobbycraft
- Metallic mini Christmas baubles from Paperchase
- White felt
- Pine cones
- Glue gun from Hobbycraft
- Modelcraft side cutter pliers
- Metallic Thread from Loving the Fabric
- Scissors
- Sewing machine
- Grey netting fabric
- Leaves template by Francesca Ogliari
Method
- I began by arranging the cypress pine cones around the wreath. One by one, place a pine cone and glue it onto the wreath to secure it (remember to balance them visually). Allow two minutes to let the glue fully dry before starting the next stage.
2. Next, I cut the Christmas snow berries garland branch and arranged them around the wreath for balance. When you are happy with your arrangement, use the glue gun to fix them in place.
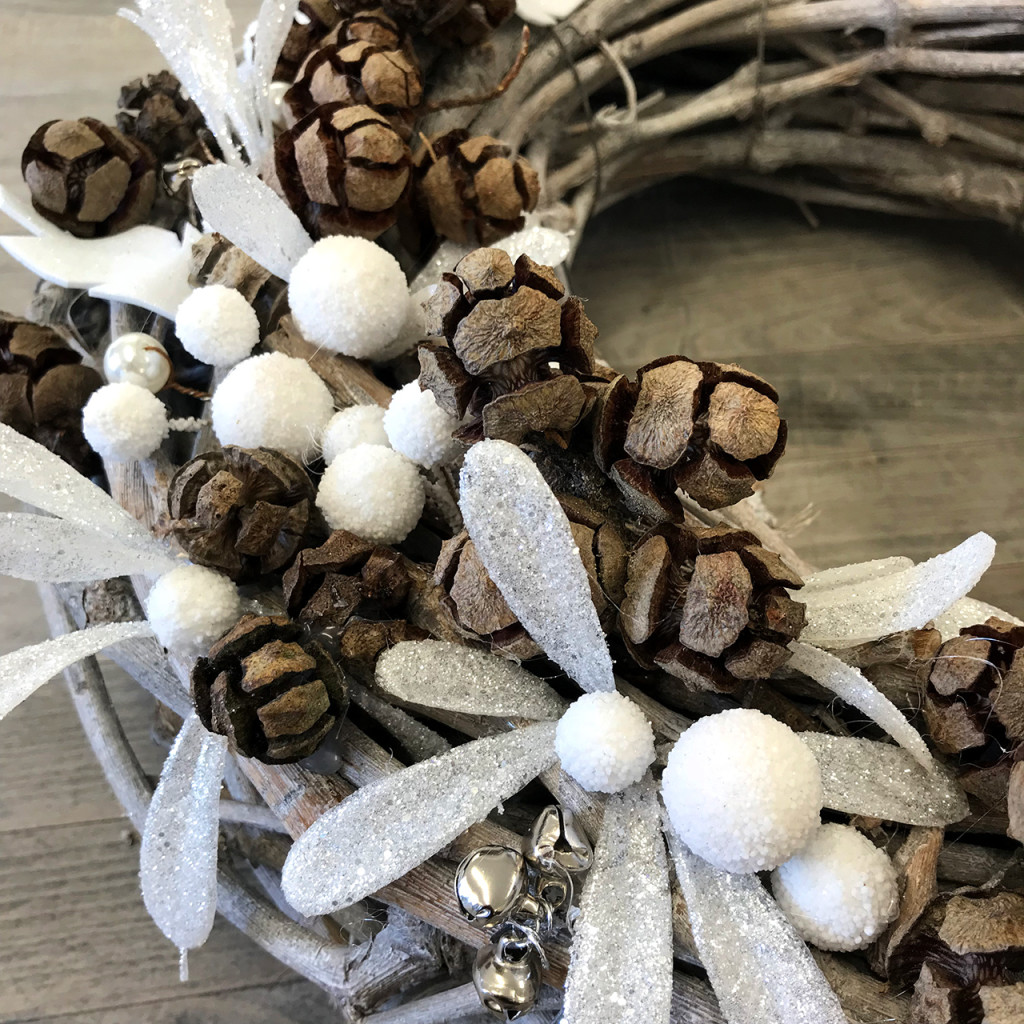
3. Follow the same steps as 1 and 2 to secure some silver jingle bells on to the wreath. Make sure to make these random, as it will give your design depth and detail when looking up close.
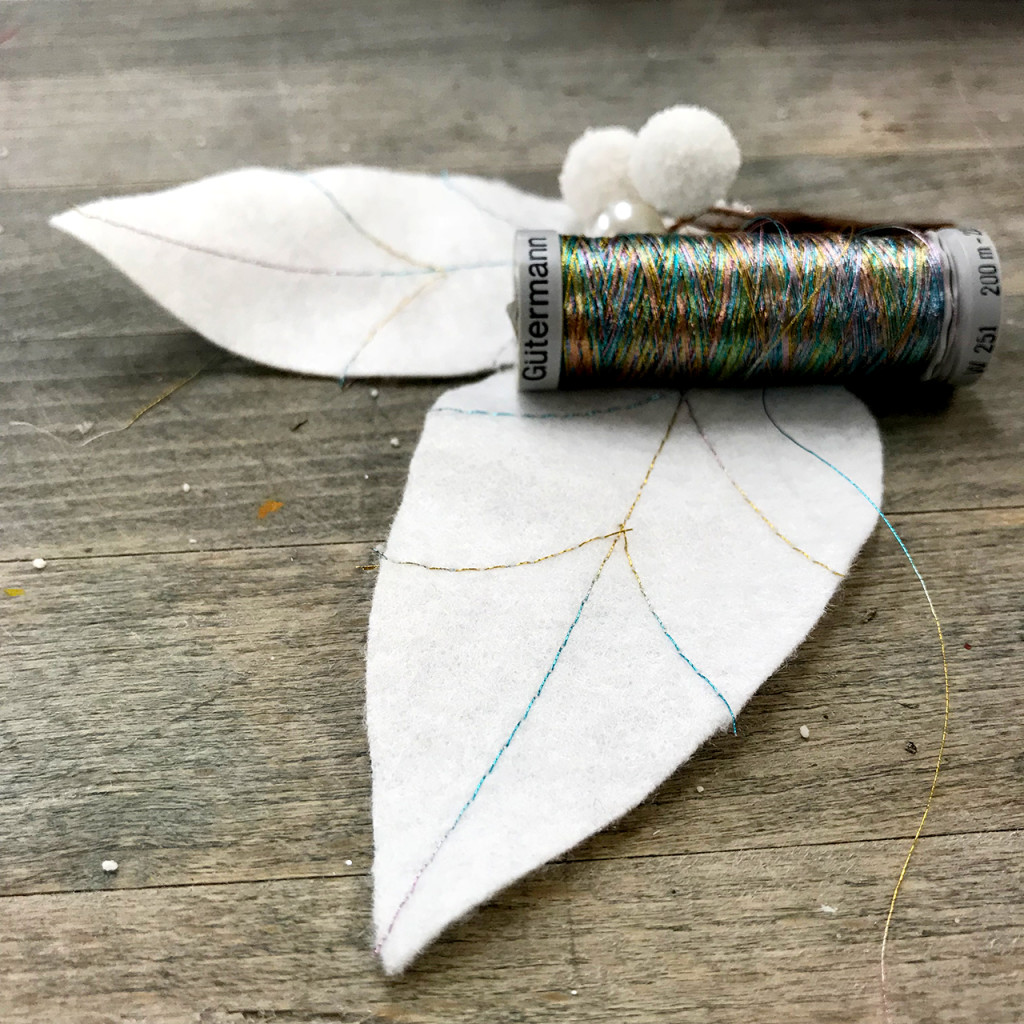
4. Using the leaf template, I traced and cut the white felt leaves and then sewed the leaf details onto them using the metallic thread.
5. To create a romantic look, I glued two leaves together with a snow berry.
6. Next, I selected the metallic mini baubles and glued them around the wreath.

7. Once I was happy with my result, I tied the large netting bow at the top and centre of the wreath so it can be attached to a door.
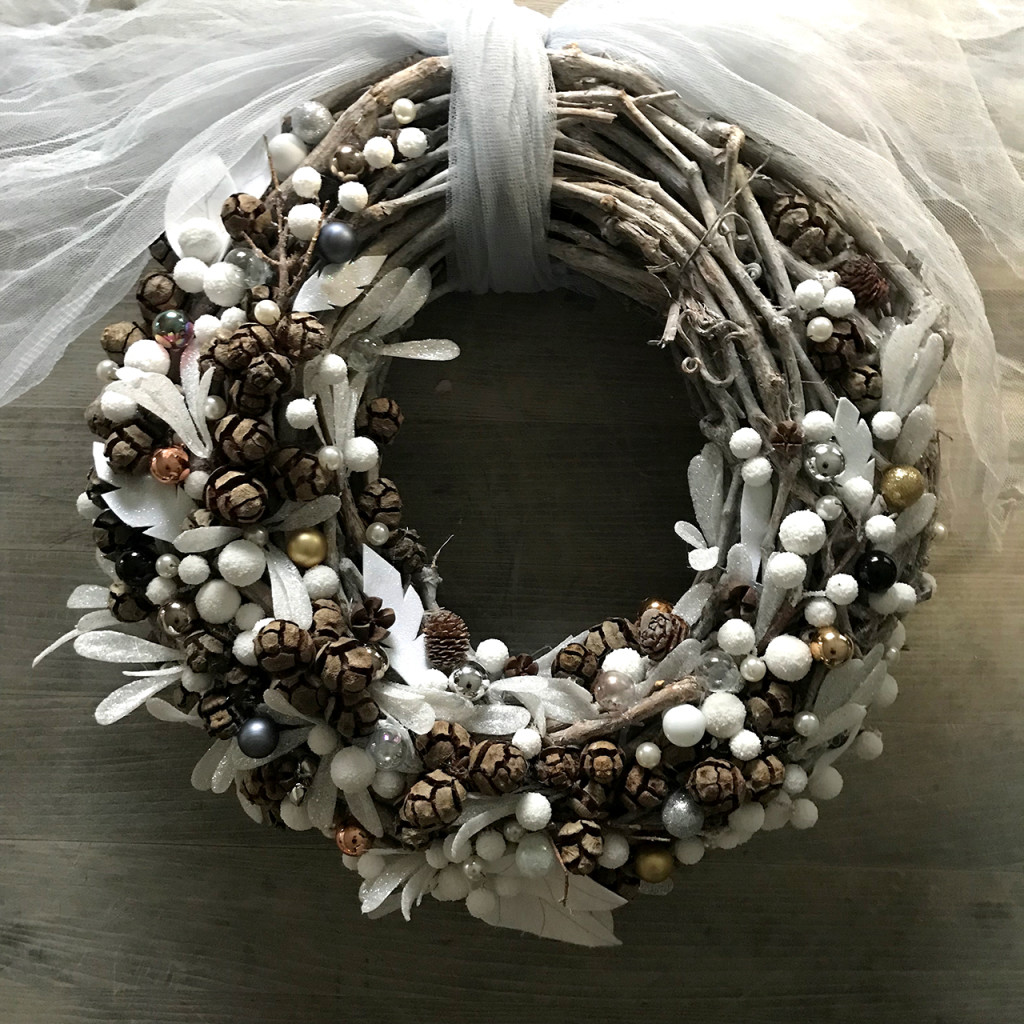
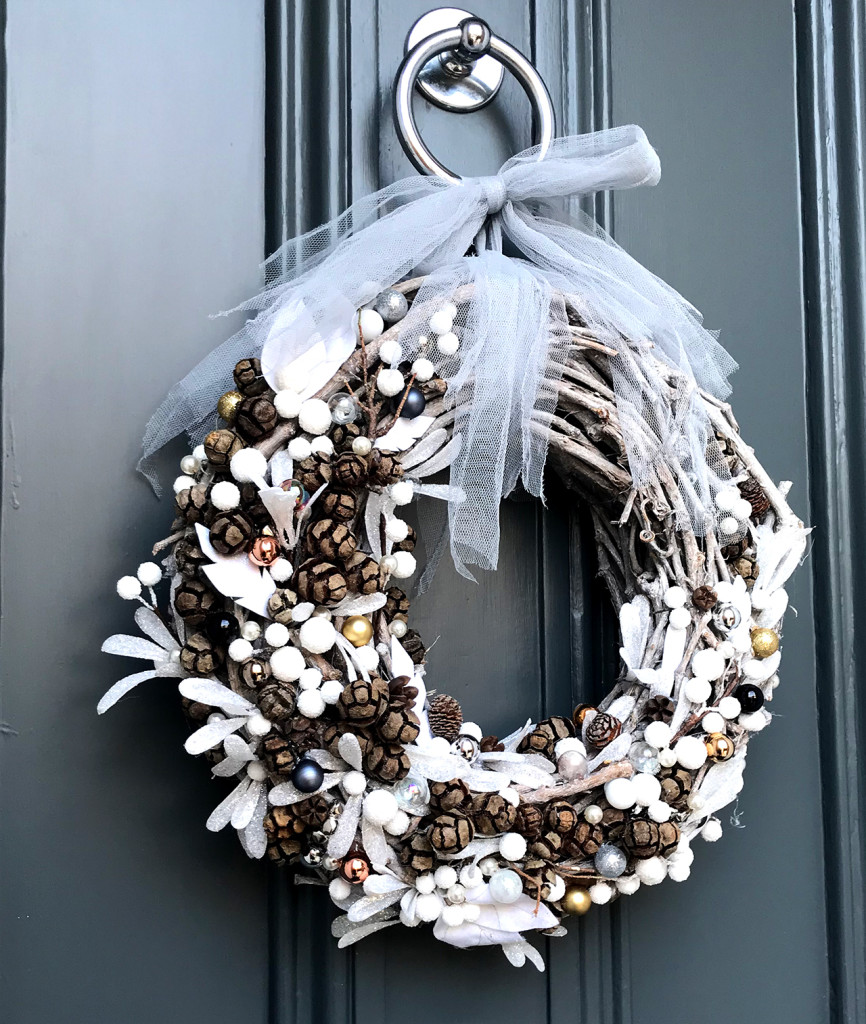
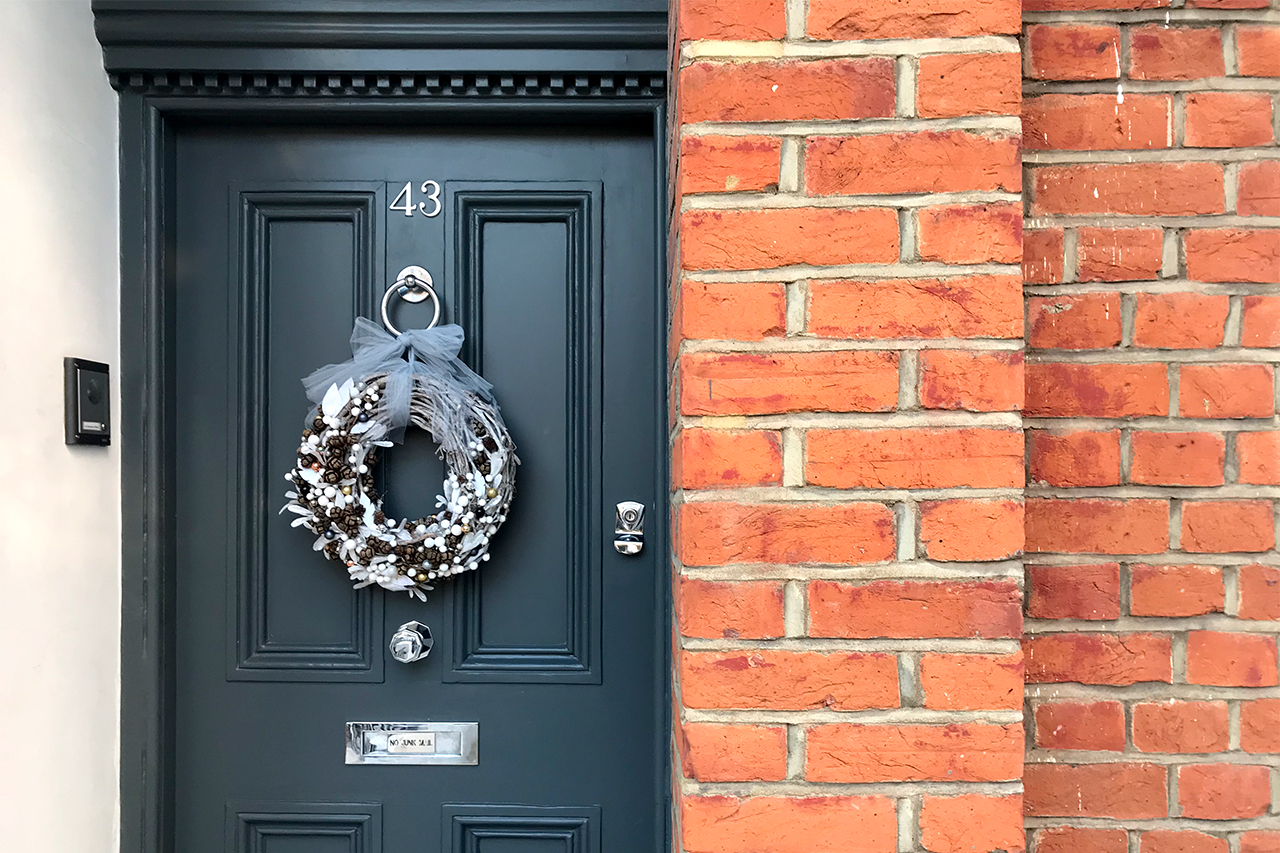
Now your Wreath is ready to be hung on your door and to welcome everyone! Doesn’t it look stylish? If you want to get more ideas for crafty projects this Christmas you can also get inspired by the Hobbycraft blog.




Vilma Nuccitelli
14th February 2018That is beautiful! Your creativity blows me away, my dear!😘
CRC
22nd November 2017Illaria, this is bloody brilliant! I love it