Musica Maestro…. the dance begins! The room fills with colourful masks and costumes. Ready to meet Casanova at the Grand Ball? Yes? Then follow me! You will need two things; to know a bit of history about Venice and the Carnival; and to prepare a luxurious mask to seduce your “Casanova”.
‘Carnevale’ is the most theatrical time of the year where Venetian people and nowadays tourists, dress up with their original vibrant masks to go to the main square of Venice, Piazza San Marco, to celebrate. It is a wonderful festival, where art, culture and tradition merge together. The word Carnevale derives from the Latin and means, ‘to give up meat’. It usually lasts for ten days and ends on ‘Martedì Grasso’ (Shrove Tuesday). The Venetian mask was originally designed and worn to allow the identity of the wearer to be hidden. One of the most famous masks for gentlemen is ‘La Bauta’, a full-face mask with a beaked nose also known as ‘Plague Doctor’. In the past, ladies would wear wonderful dresses with lace and an apron but no mask, as the ‘Colombina’ (Columbine) character. The more recent tradition has been to wear a half-mask in order to retain mystery while still revealing beauty. This mask only covers the upper part of the face. The theme of this year’s Grand Ball at Palazzo Zeno is ‘Fifty Shades of Casanova’
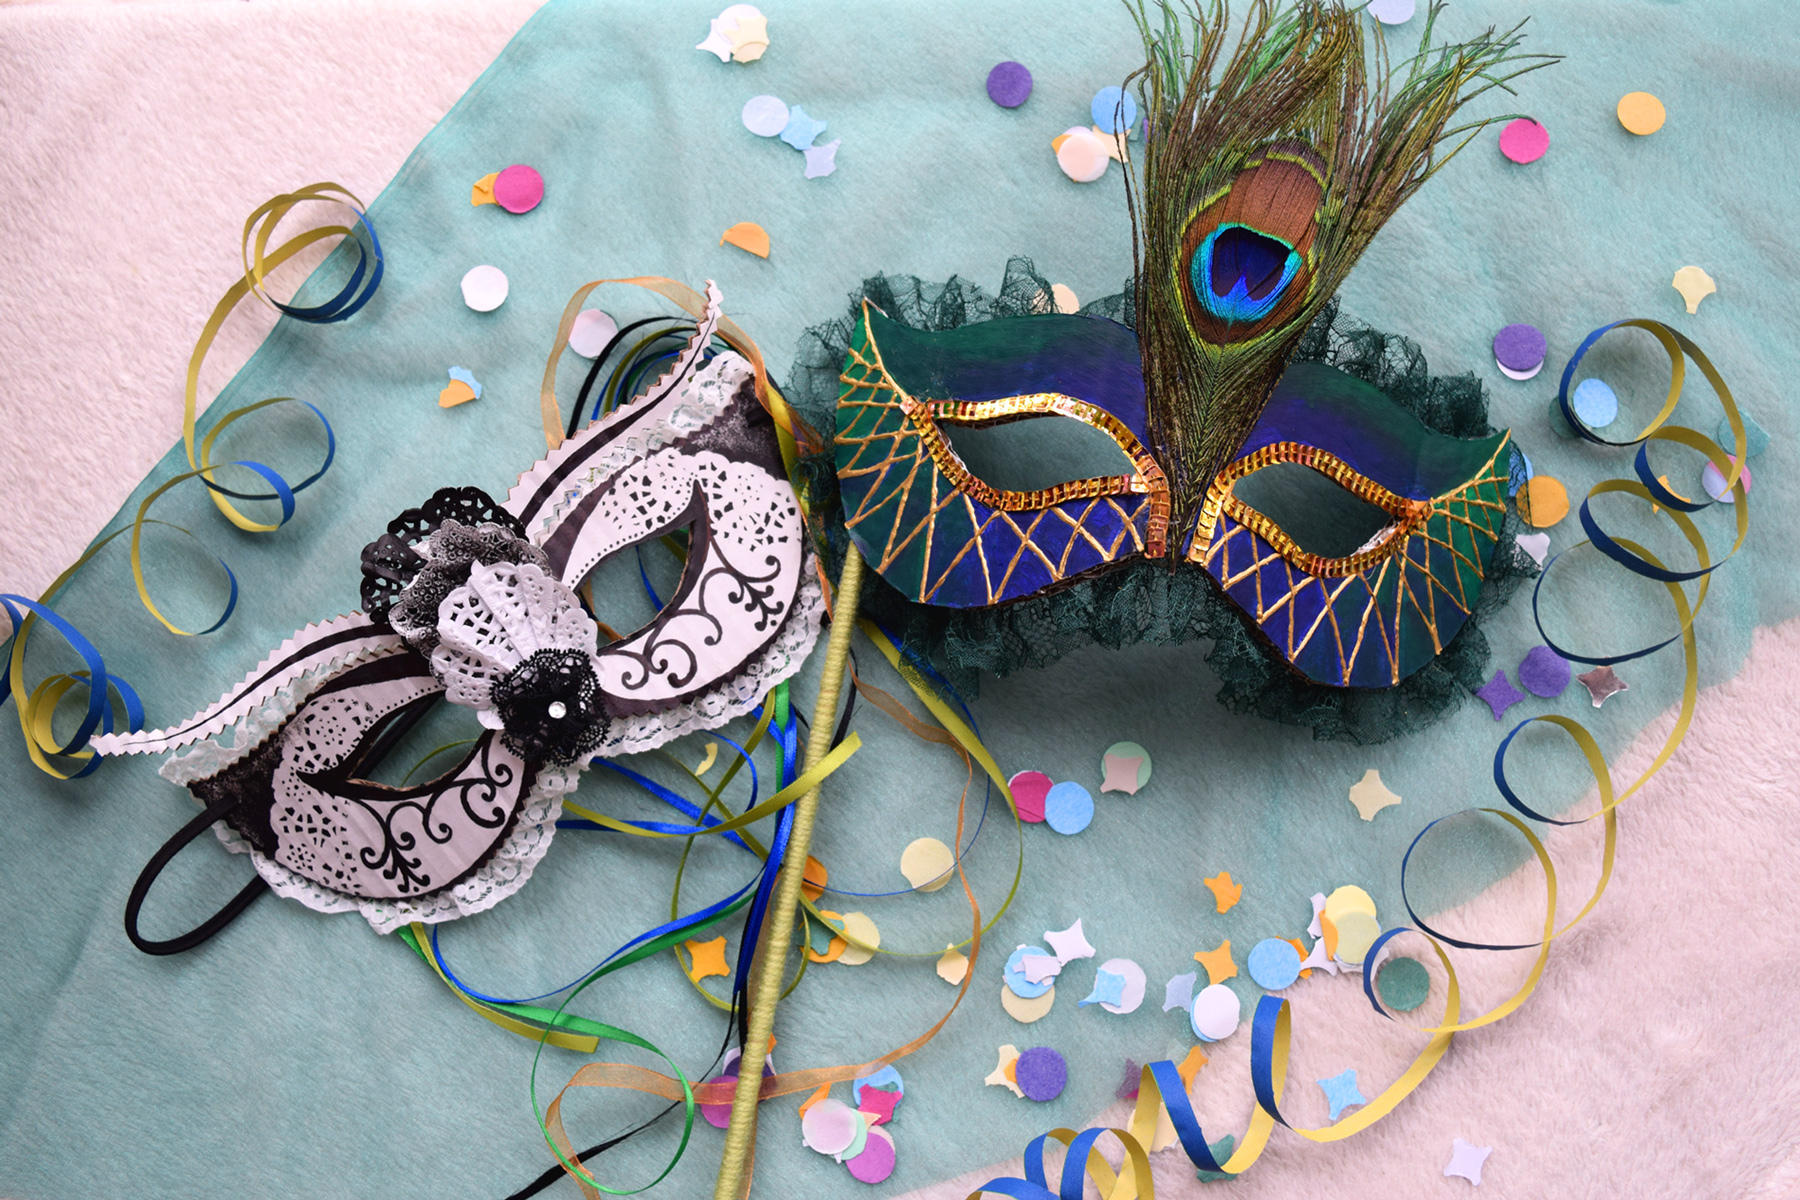
Let’s get started with making masks inspired by Colombina. I have made two masks; one colourful and the second black and white.
PEACOCK MASK
You will need:
- Mood board (to create your theme)
- Cardboard
- Pencils and ruler
- Measuring tape
- Scalpel and cutting matt
- Scissors
- Double-sided masking tape
- Brush and acrylic paints
- Gold sequins
- Pearl gold grutta (water-based paint)
- PVA glue
- Green lace
- Peacock feather
- Wooden stick
- Light green wool
Method
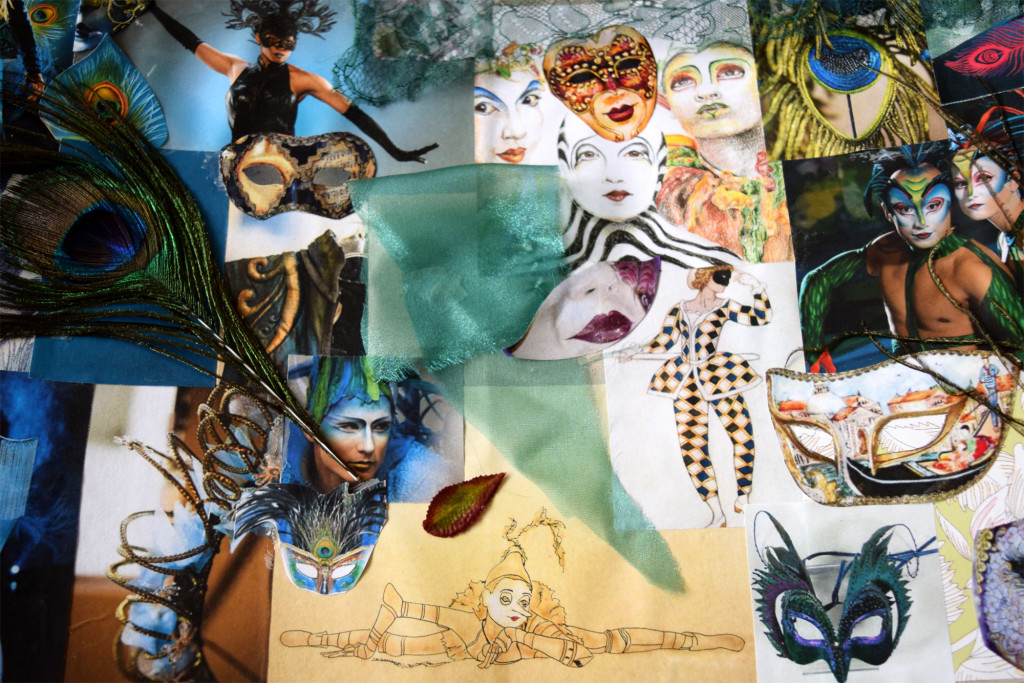
- Create a mood board. Find inspiration in magazines, on the internet etc… choose your images and colour theme. My mood board was inspired by Harlequins, Cirque du Soleil (Amaluna) and peacocks.
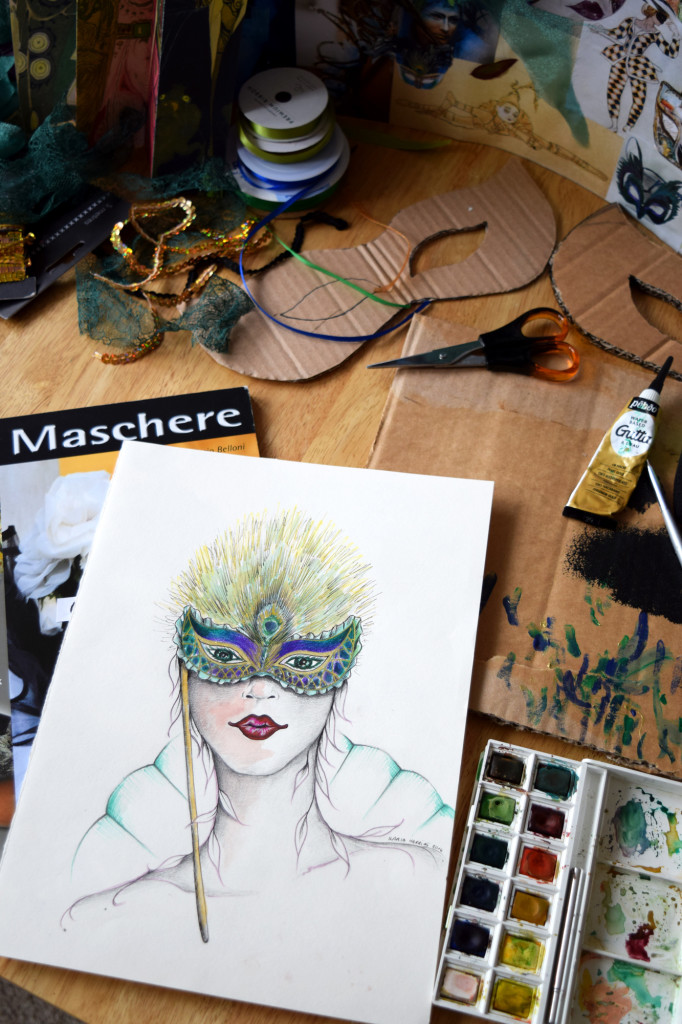
- Illustrate the mask you wish to make. * This is an optional step. You could alternatively look at my example to get an idea of how you will proceed.
- Use measuring tape to define the area of your face you wish to cover with the mask (measuring width and length).
- Once measured, draw the outline of the mask on cardboard.
- Fold the cardboard in half and cut around the shape of the mask using the scalpel on a cutting matt. You will now have a perfectly symmetrical mask.
- Now draw the shape of the eyes and cut them out with the scalpel.
- Paint the brown cardboard with white acrylic paint. Let it dry and then draw the lines and patterns you want on the mask using pencil.
- Choose the acrylic colours and paint for your mask from your mood board. Try to blend the colours (I used emerald, ultramarine, yellow ochre, crimson and burnt umber) Let it dry for a couple of minutes. Avoid black!
- Now you are ready to apply the pearl gold colour (Grutta) on top of the lines. It will give a three-dimensional effect. Let it dry for an hour
- In the meantime you can prepare the green lace. Cut the double-sided masking tape and start folding the green lace on one side. Now you can peel off the other side of the masking tape and apply it on the edge (back side) of the mask. It will stick and create a beautiful effect. It is a great technique because you don’t need to sew.
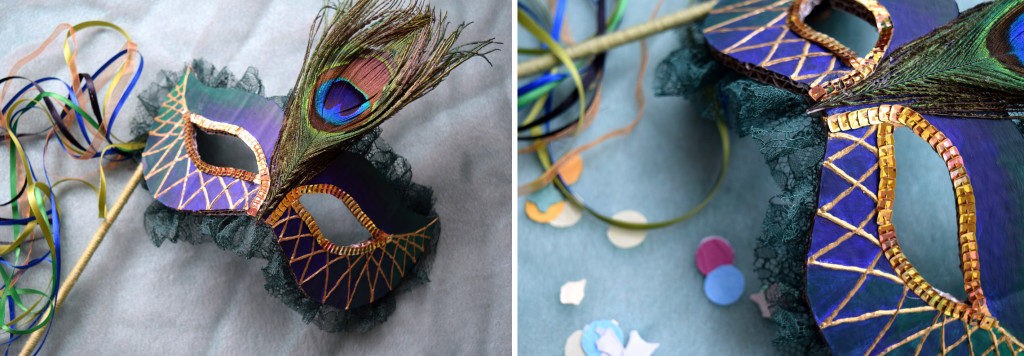
- Once the mask is dry you will be ready to apply glue around the eyes in order to stick the gold sequins and the peacock feather in the centre of the mask.
- The final touch is the wooden stick to be used as the mask’s handle. Apply the PVA glue to the stick and use light green wool to wrap tightly around the stick to create a decorative covering. Now the handle is ready to be inserted on one side of the mask.
BLACK AND WHITE MASK
You will need:
- Template of the mask (which you can draw just like the Peacock mask)
- Light white cardboard
- Sharpie pen
- Scissors (normal scissors and preferably also zig-zag scissors for nice edges!)
- Scalpel and cutting matt
- Double-sided masking tape
- White doily paper (can be purchased from most craft shops or try hobbycraft.co.uk online)
- White lace
- Sponge
- PVA glue
- Black acrylic paint
- Black rubber band or elastic string
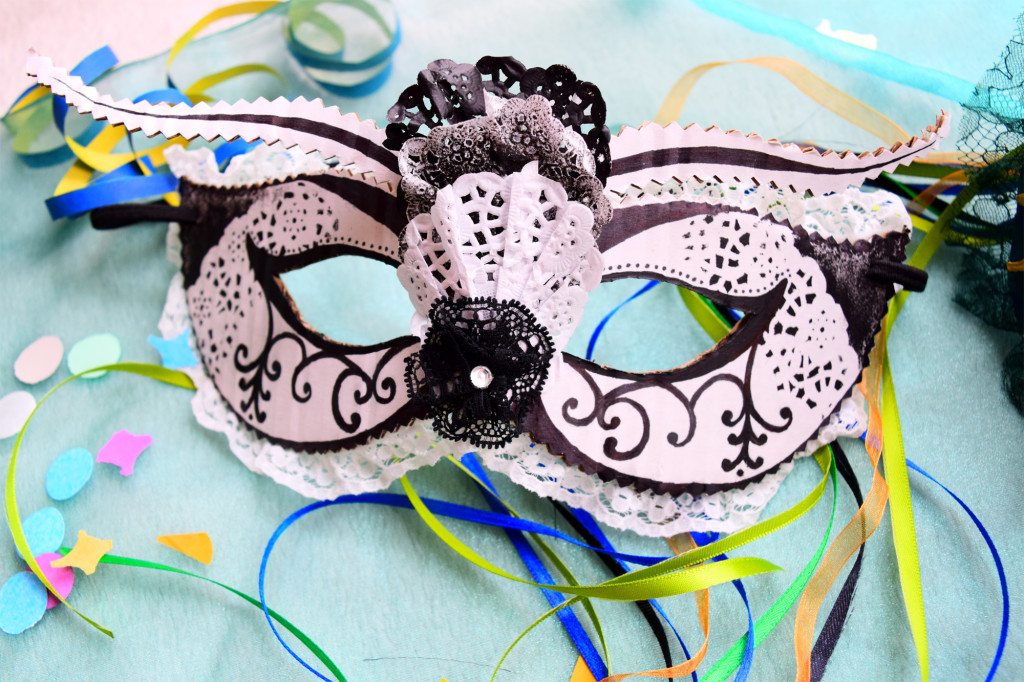
Method
- Draw your mask on paper and then cut it out.
- Trace around the mask onto the white cardboard.
- Fold the cardboard in half and cut around the shape precisely with the scalpel or scissors. You will now have a perfectly symmetrical mask.
- Use the black sharpie to decorate the mask.
- Fold the doily paper in such a way as to create flowers (see the photographs).
- Use PVA glue to stick the flowers to the centre of the mask.
- Now use the sponge and black acrylic to print through one side of the doilies on to the mask. Let it dry for a couple of minutes.
- In the meantime you can prepare the white lace. Cut the double-sided masking tape and start folding the white lace on to one side of the tape. Now you can peel off the other side of the masking tape and apply it on the edge (back side) of the mask.
- Finally you can make two holes at both edges of the mask in-line with the eyes. Here you can insert the black rubber band or elastic string. The mask is now ready to be worn.
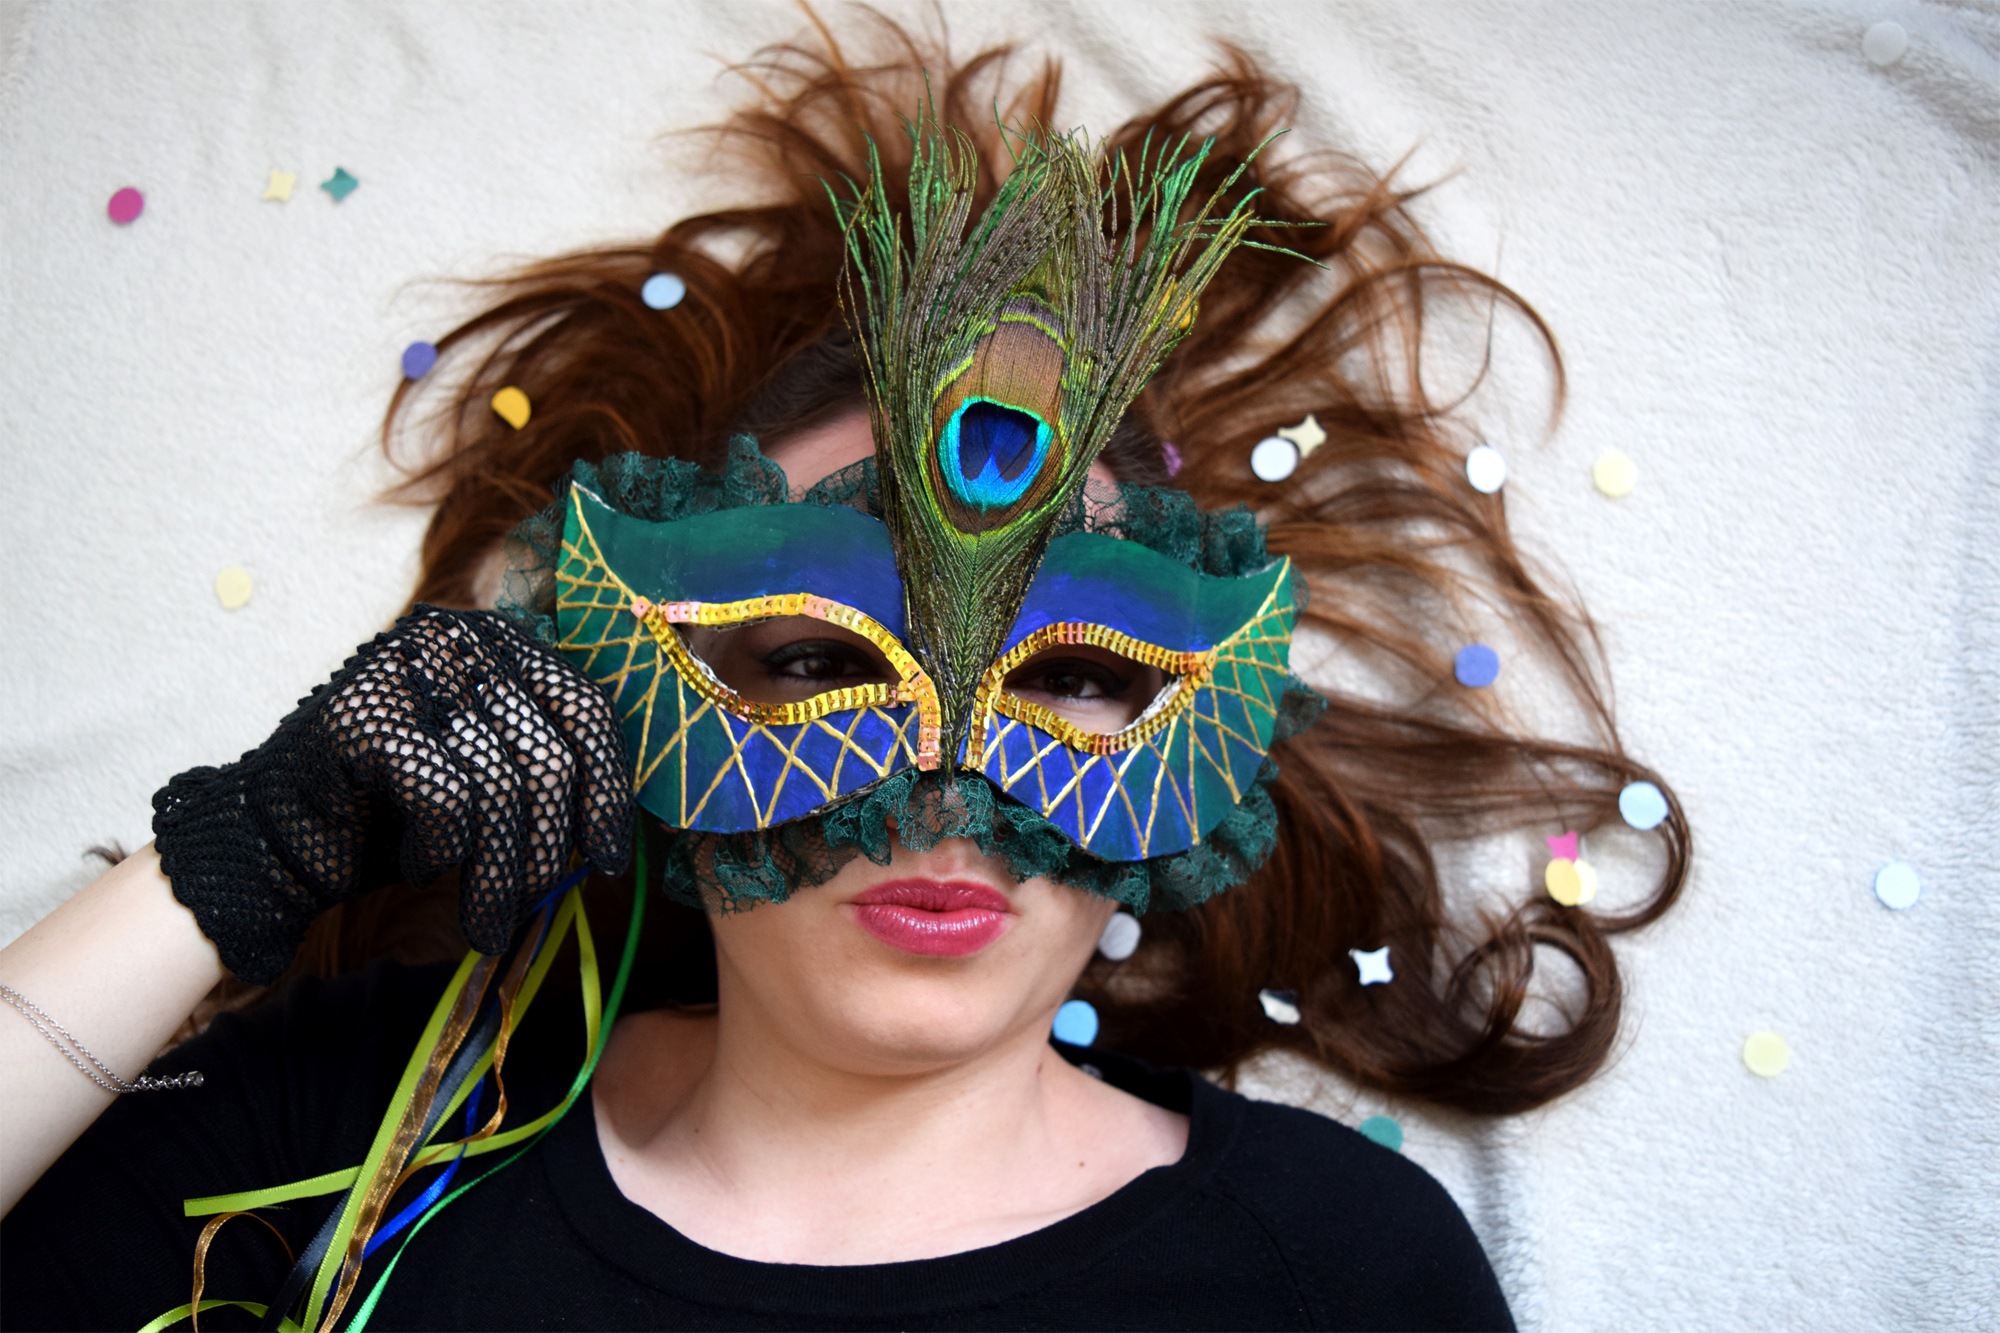
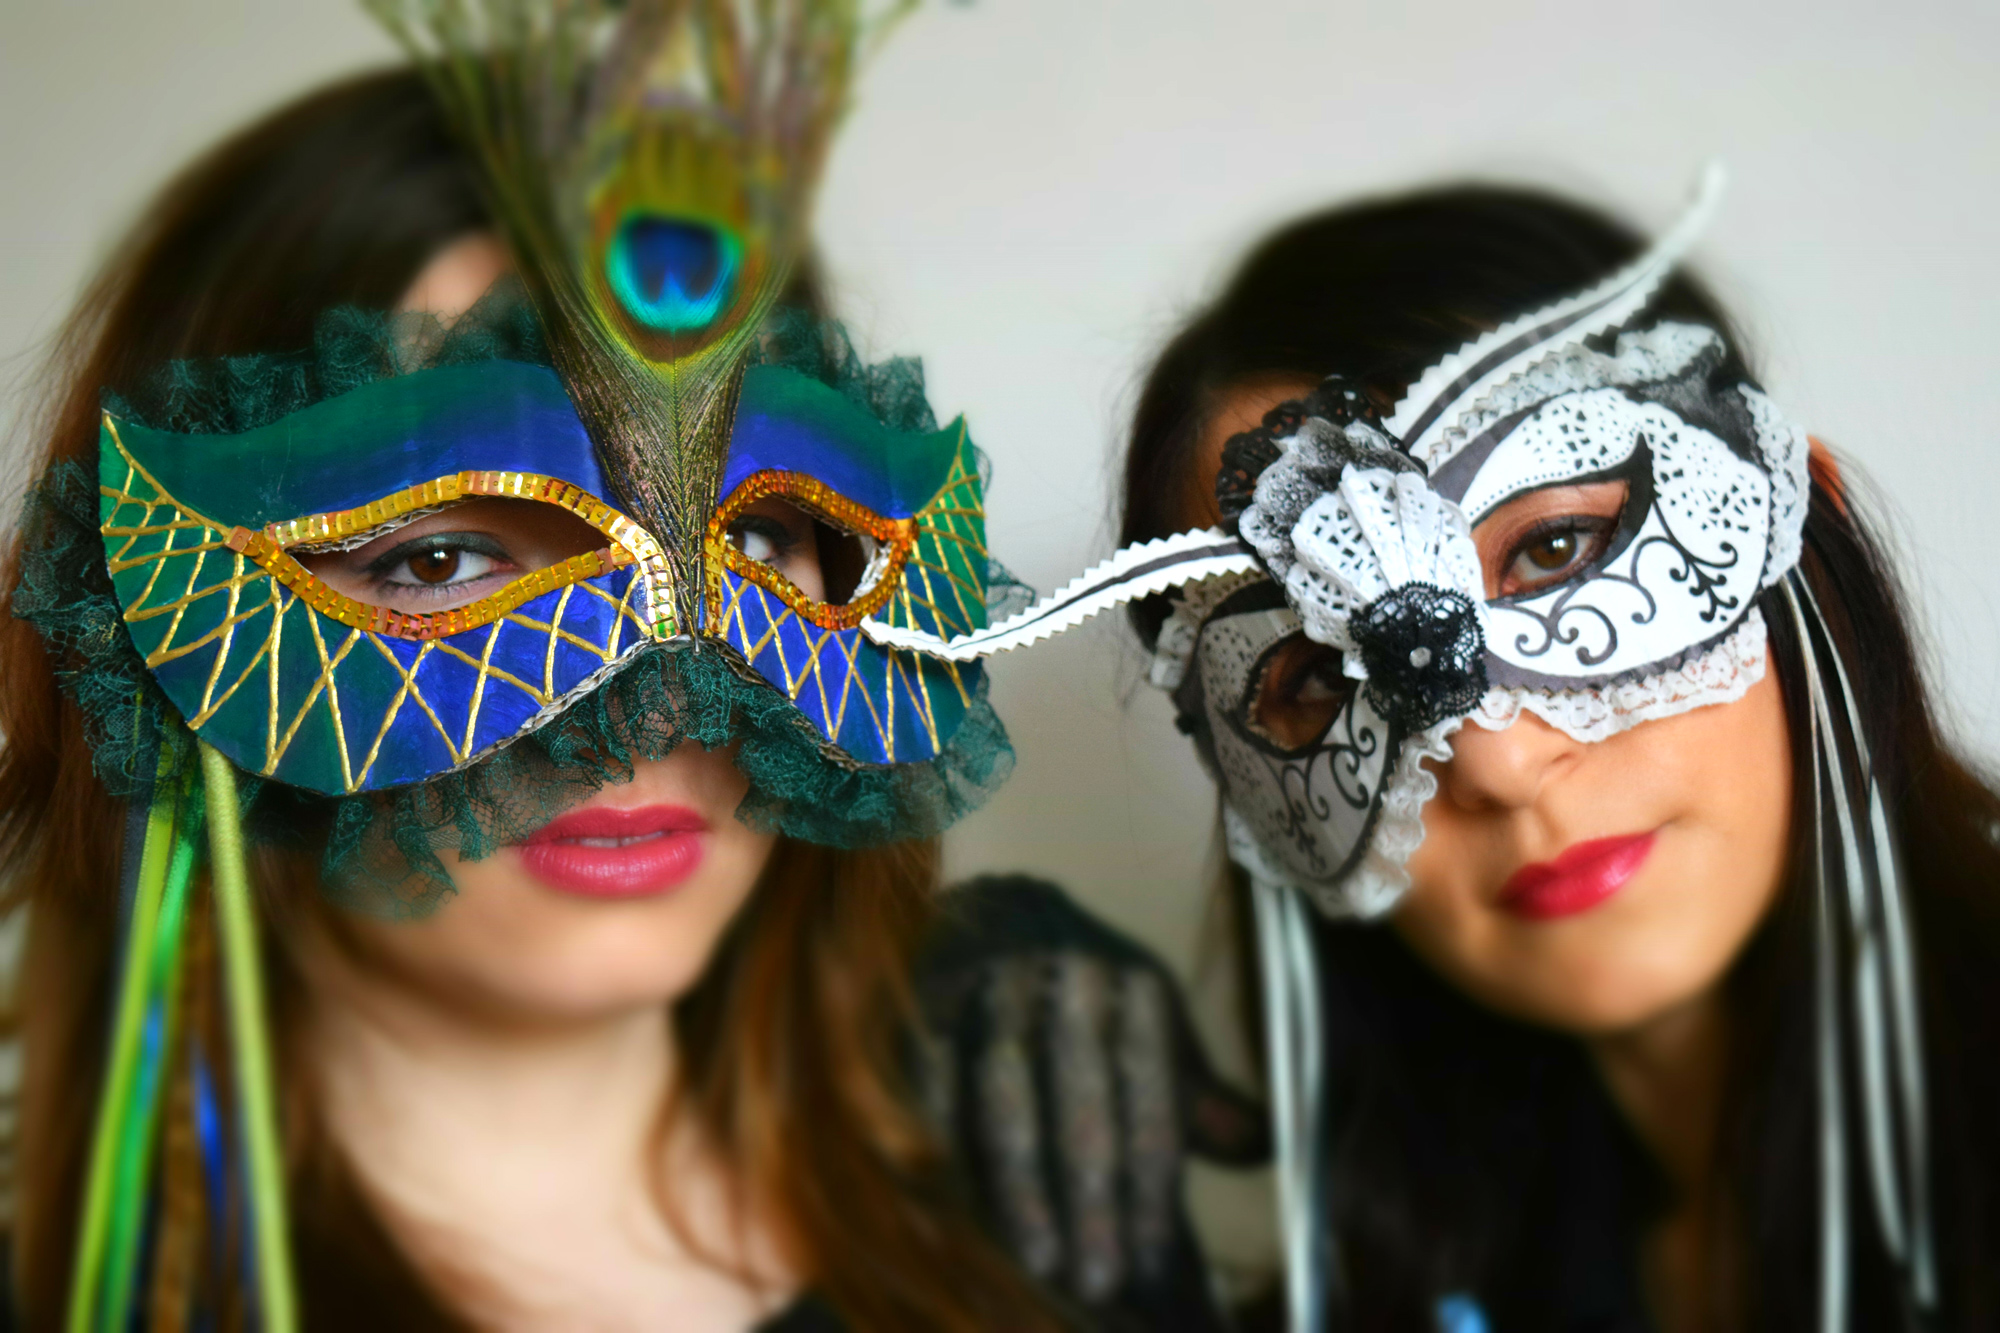
Once I completed both masks, I invited my gorgeous Italian friend Giulia to be my model (model not available, happily engaged to a wonderful man). I thank her for the contribution to these stunning photographic results. What an amazing day we all had, followed by a modern banquet (which I prepared). Menu of the day: main course, pennete alla vodka (soon you will find the recipe on my blog); contorno – board of Italian, English and French cheeses with chutney and grapes; dessert- affogato al caffe’ (ice cream with espresso).
Suggested book: ‘Maschere’, Mario Belloni, 2000, Language: Italian, English, French and German. This book covers the origin of Venetian masks as well as the characters in Venetian history. It also covers traditional techniques for making Venetian masks with clay molds.

Sonia
17th February 2016Sono bellissime Ilaria! Io non ho tutta questa manualità ma mi piacerebbe provare a farne una 😉 chissà cosa verrebbe fuori 😊
Un abbraccio e buona serata
ilaria
17th February 2016Grazie Sonia! Detto da te e’ un vero onore! Sicuramente verrebbe fuori qualcosa di veramente bello e unico come le tue ricette e fotografie! salutami la bella Italia! Un abbraccio
Giselle
4th February 2016Fantastic masks ! Very beautiful.
ilaria
9th February 2016Thank you Giselle! They’re not too difficult to make and good fun as well!